
Procreate Mock Up Instructions
What do i do first?
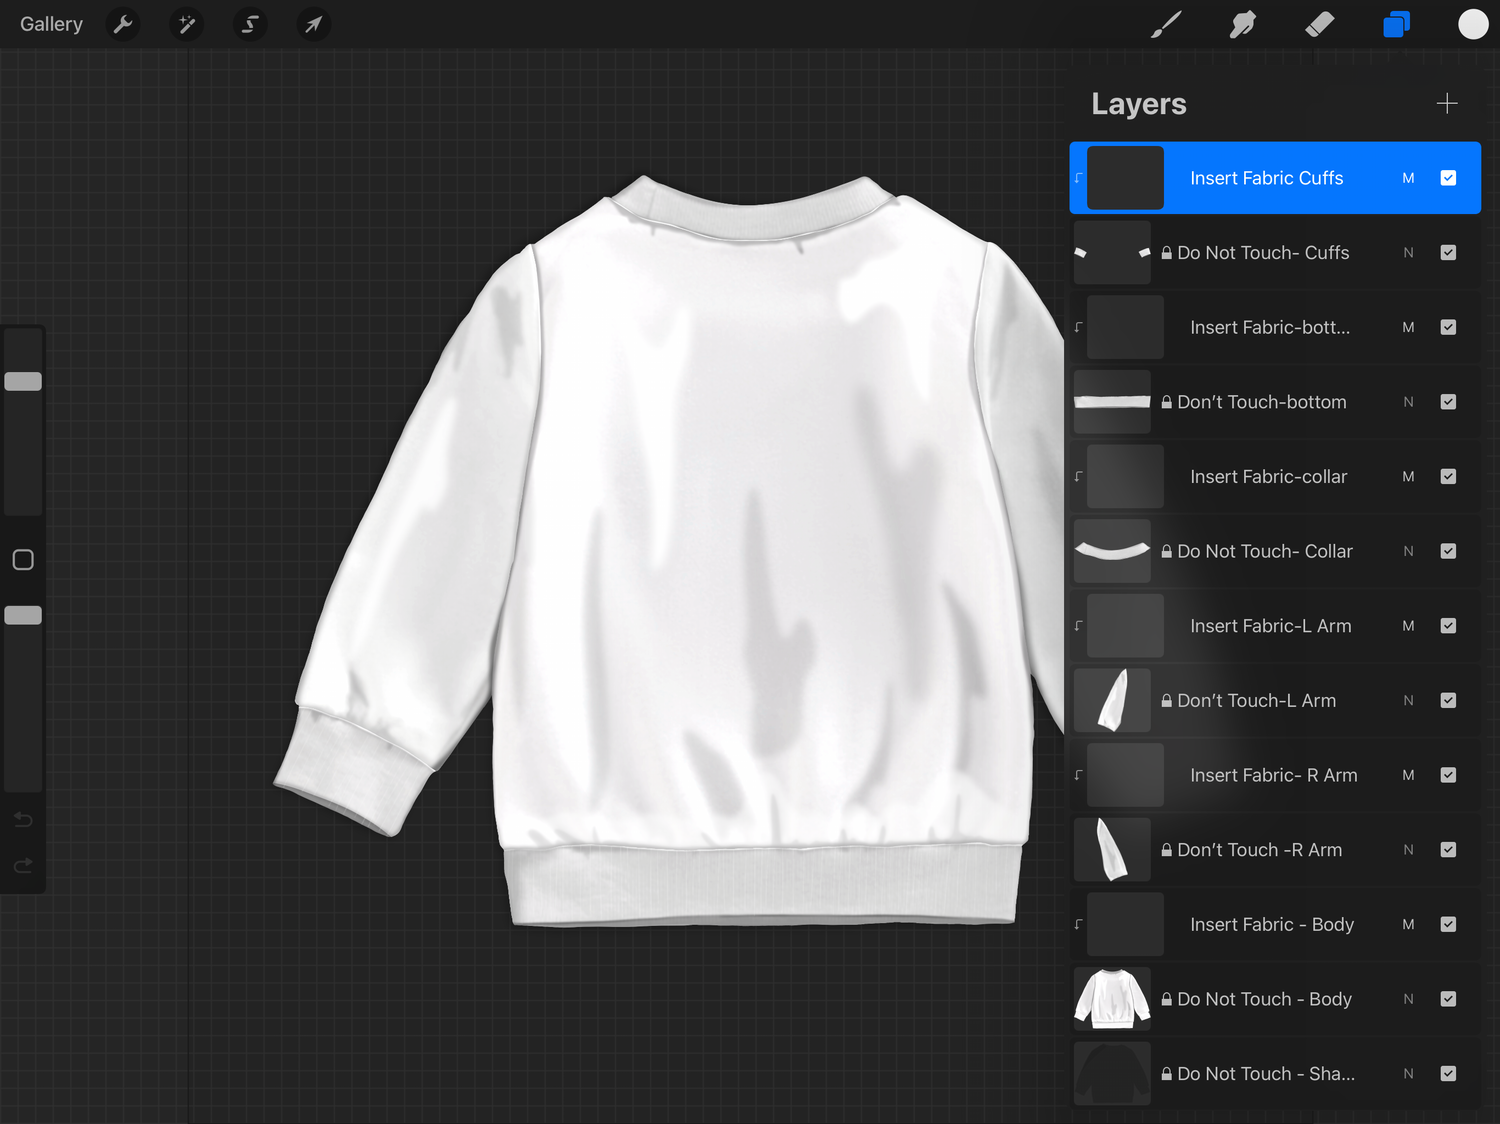
Once purchased, download your file and import it into procreate. Your screen should look like this here. If you open up the tab menu (2 boxes highlighted blue top right) you will see all the layers ready for the design/colour to be added. Now tap the section of the garment you would like to start with and it should highlight blue (where i have 'insert fabric cuffs' selected here)
Lets add your design in!
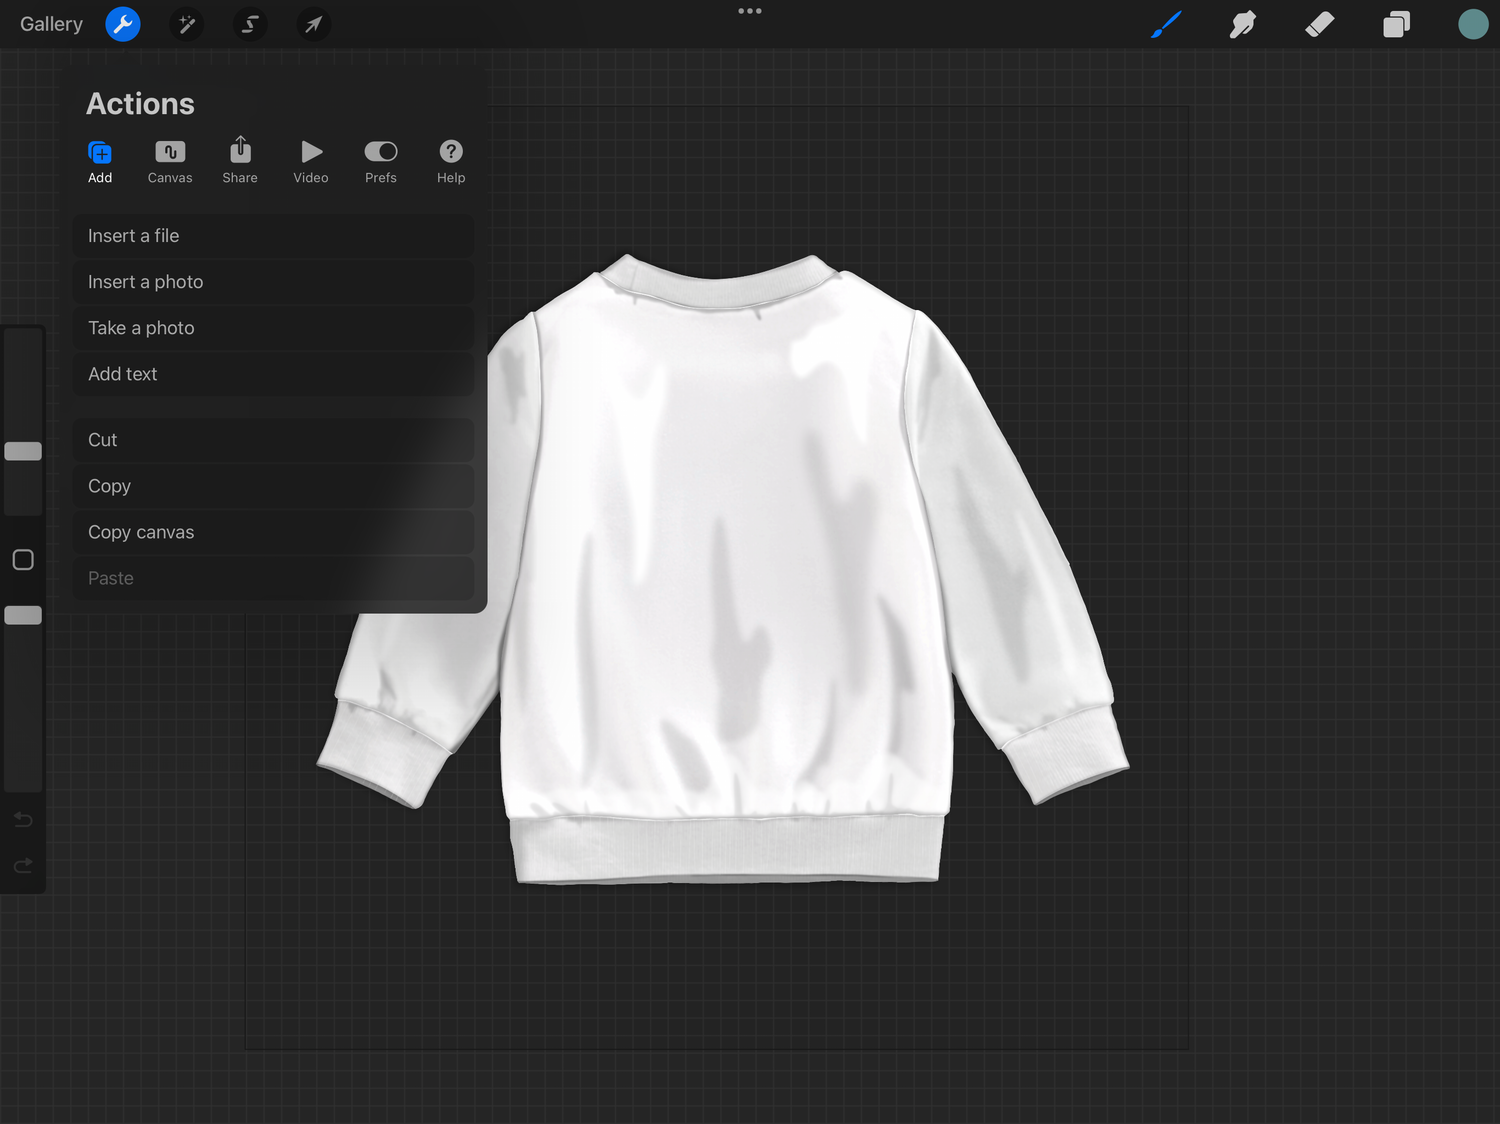
Once the section you are ready to start with is highlighted from the tab menu you can now add your design in.
Head to the top right and tap the screwdriver icon (highlighted blue here) and insert a photo or file depending where your design is saved.
Add your design in place!
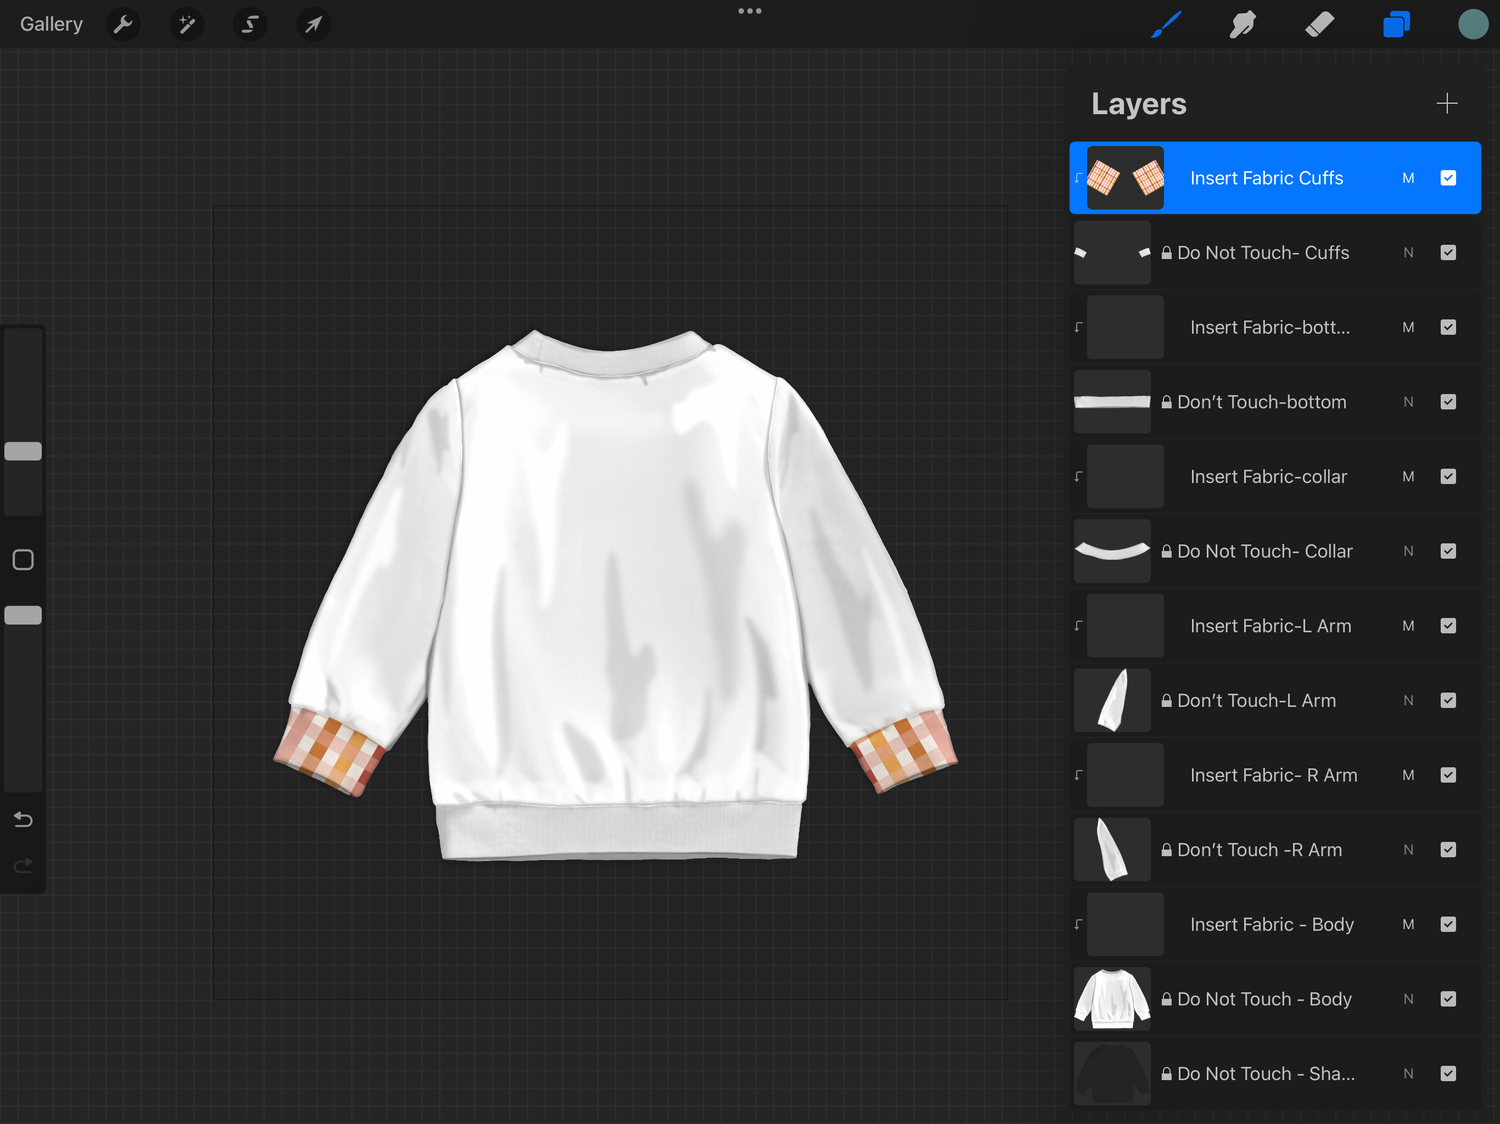
Once your design has been imported you can move it, re size it over the cuffs and it should look like this image here...
Alternatively, if you would like a solid colour on some sections of the garment or if you would like to start with another design, if you open up your layers tab again, tap the layer so it highlights blue and tap it again so a menu pops up to the left of the layers tab. (where it says, rename, select, copy, fill layer etc..)
Press (clear) and it will remove the design so you are ready to start fresh!

Adding colours in or starting over..
Once you have pressed 'clear' you can simply colour over the section/layer selected to have a block colour. You can choose a solid colour by tapping the far left circle and choosing a colour from the wheel then painting over the area chosen.
Almost there..
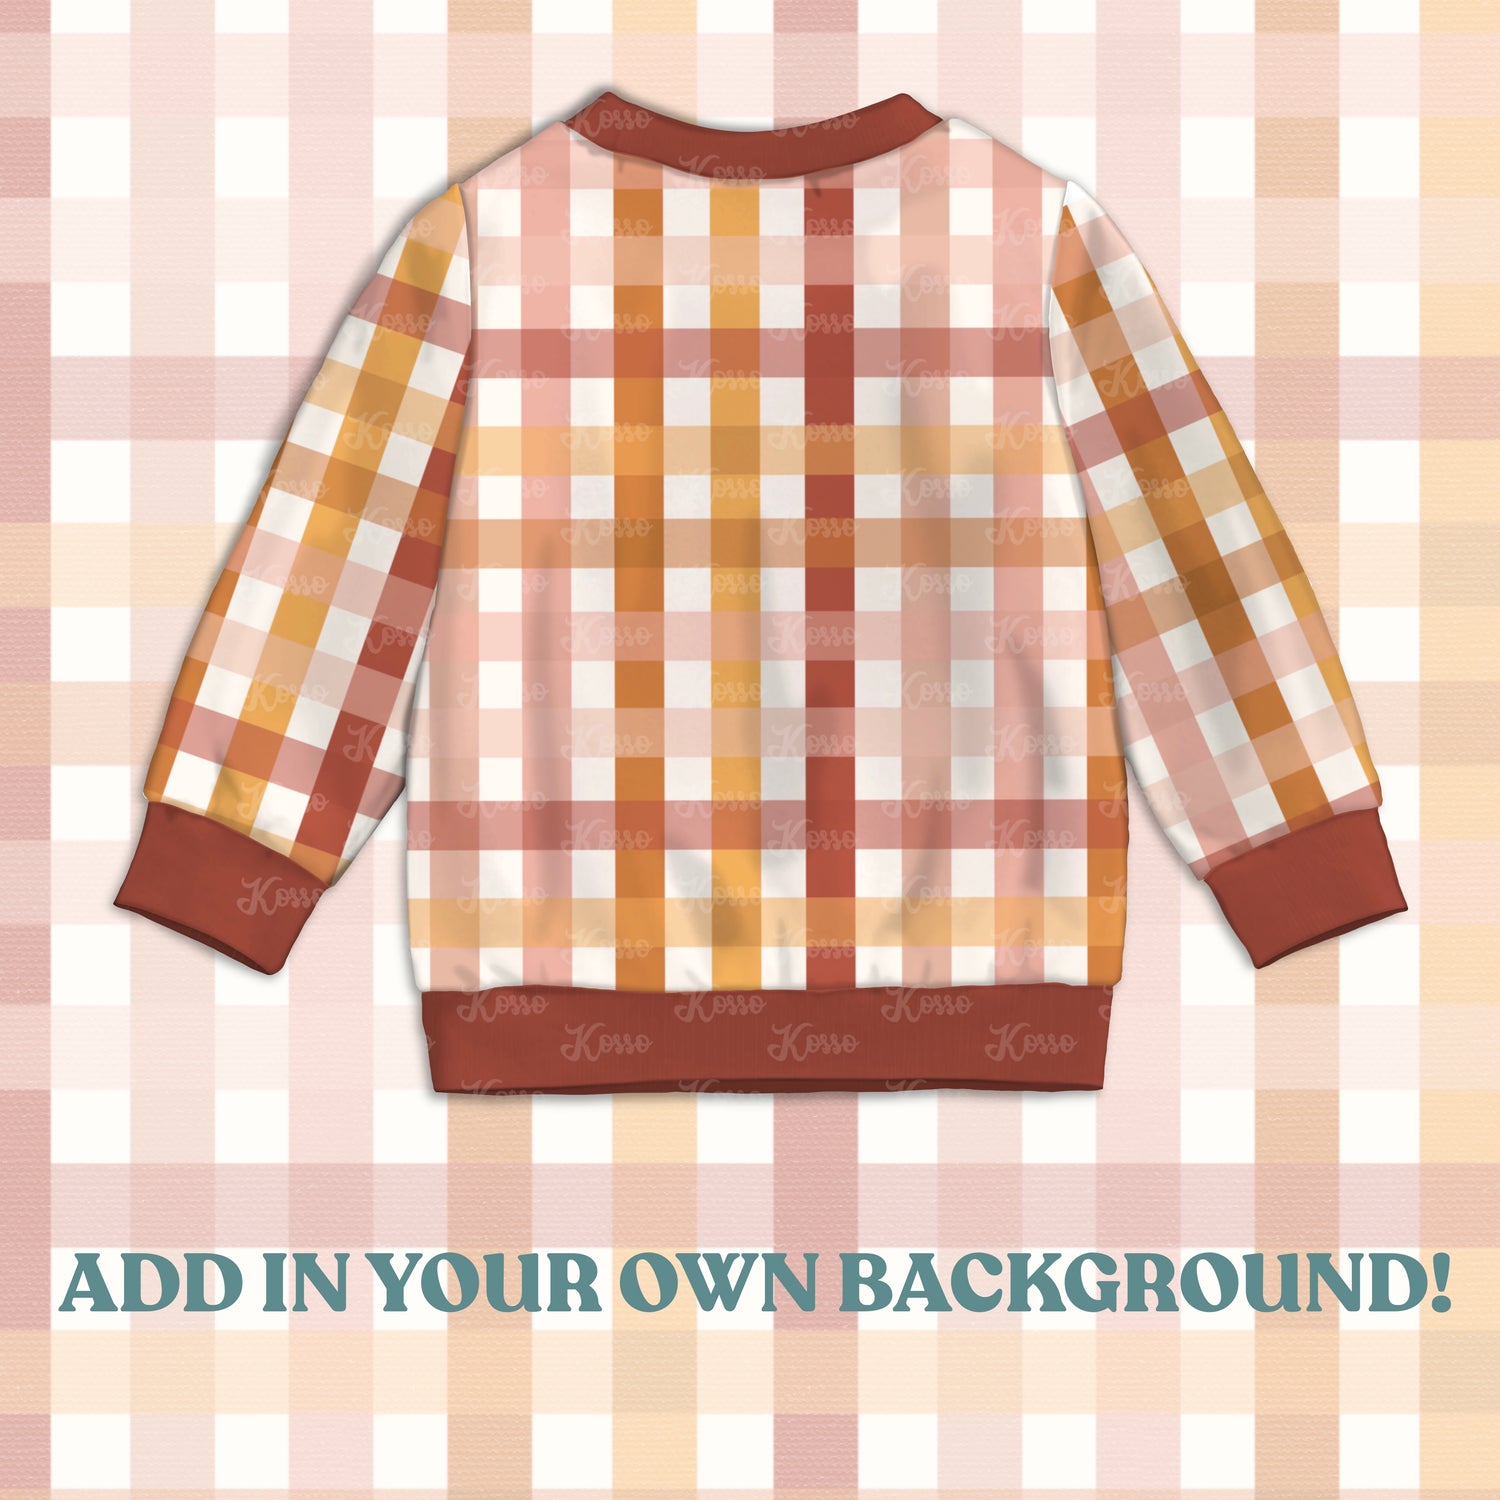
After repeating these steps on each customisable section you should be left with a finished mock up! You can now save as a png and import it into a new canvas to add in your own background or just save as jpeg with a white background. When you want to start over with a new design just follow the steps in the step before this and clear all old colours/designs from the template.
Please dont hesitate to get in touch for further help!